Godot - Asteroids Game For Complete Beginners: 5
Back
Previous Article: Godot - Asteroids Game For Complete Beginners: 4
Author: Yiannis Charalambous
Reading Time: 11 minutes
Tags: Tutorial · Godot
Introduction
This is part 5 of the tutorial series for making an asteroids style game in Godot, designed for absolute beginners with little to no experience in programming.
This article will cover:
- Making a score counter user interface for the game.
- Making the score counter increment when the player shoots a meteor.
- Making the score counter reset when the player ship gets hit by a meteor.
Before going through this article, it is recommended following the steps outlined in the previous parts of this tutorial series.
Basics of Godot’s UI Nodes
Creating user interfaces in Godot is identical to creating 2D scenes, your user
interface elements are nodes, you have a root node that has child nodes that
form either a single piece of UI or a system, depending on the design decisions
taken. All UI nodes in Godot extend from a derived node of the Control node
or extend from the Control node directly. The Control node implements the
base features that are required in order for a UI node to function.
Godot Singleton Nodes
In Godot, when a scene is loaded, the previous scene’s information is lost, so storing the player high score is impossible without the use of singleton nodes. Singleton nodes exist outside of the scene and can be used to store data that we want to be persistent. When the player dies and we reset the scene (that is, we load the same scene again, throwing away the old instance of the scene), the high score will be lost if it is stored on a normal node. This is why singleton nodes exist, they are loaded at the very start of the game, and persist throughout until the game is closed, this allows us to use them to store information between scenes.
Making the UI
Creating a UI scene is similar to a 2D scene, on the top-left menu bar of the
editor window, click on Scene -> New Scene, however, instead of clicking on
2D Scene in the Scene panel, click on User Interface, this will create a new
scene, however, instead of the root node being a Node2D type of node, it is
now a Control node, which is the base building block of UI nodes. Rename the
root node to HUD using the Scene panel. Save the scene as HUD.tscn in the
objects folder.
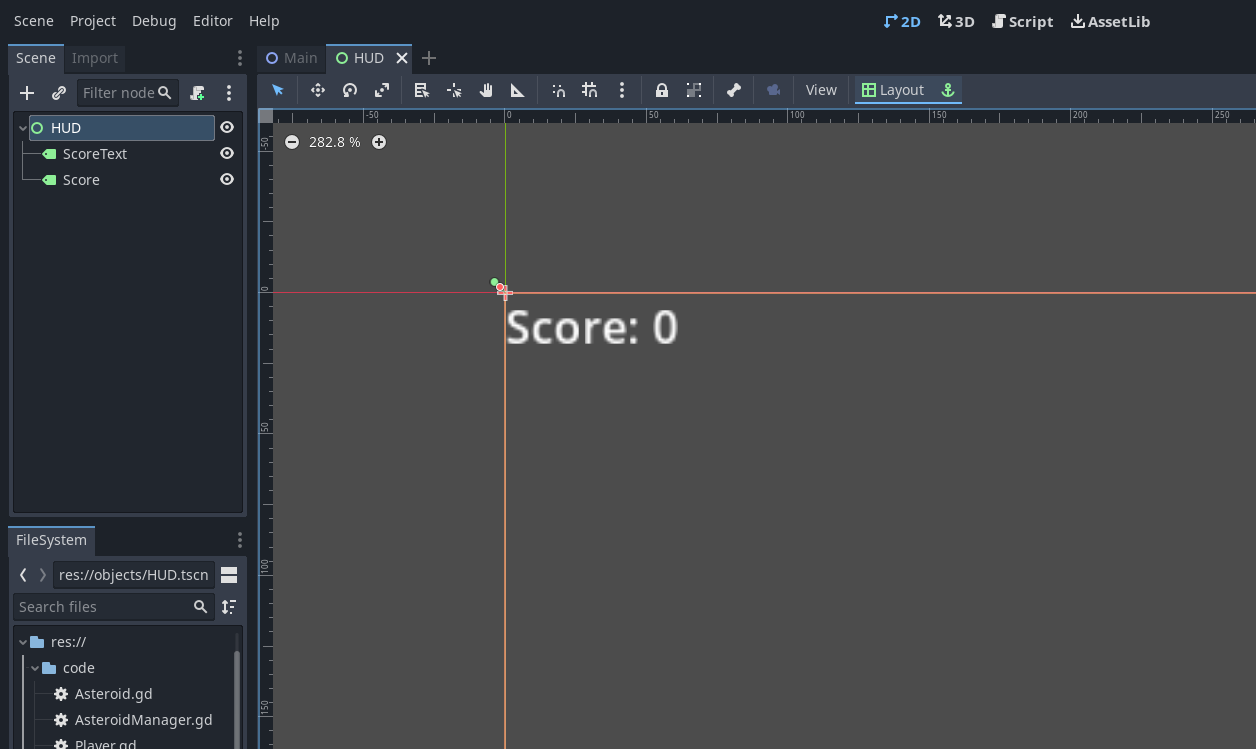
Label Node
Godot has a UI node called Label that allows you to display information, we
can use it to display our score of destroyed asteroids. Since we want to display
the score we have, and also the text “Score:” to show that the number shown
represents the score, two Label nodes will be used for convenience. They can
both be created in the Scene panel, name one ScoreText, and name the other one
Score. The nodes can then be assigned a default text value by using the
Inspector panel (in the Text property). ScoreText will have the value
Score: assigned. Score will have the default value 0 assigned as that is
going to be the default value of the score when the game starts.

At this point, you may notice that the two labels are on top of each other, that’s because they are both currently situated at coordinates (0,0) on the Control node they are a child of. Drag the number score to the right of the text score node as shown below.
It is time to create and attach a script so that we can link the score to it. In
the Scene panel, right click on the code folder and select New Script. For
the script name, choose HUD.gd and make sure it inherits Control node, this
is because the root node is also a control node. Make sure to drag the script
from the FileSystem panel to the root node that is called HUD in the Scene
panel in order to attach the script.
Additionally, make sure to drag the HUD node to the main scene with the player ship in order for it to be included in the level.
Incrementing the Score Counter
This section will cover how to display the amount of destroyed asteroids on the HUD. In order to achieve this, a variable will be created that will track the number of ships destroyed by the ship. Furthermore, the bullet script will need to be modified to increment the value of the variable that will be keeping track of the score, and also to write the HUD code in order to display and update it.
Singletons in Godot
Firstly, we will create a variable to hold the score of the player ship. We will use a singleton node to store the variable. Wikipedia describes the singleton pattern like so:
In software engineering, the singleton pattern is a software design pattern that restricts the instantiation of a class to one “single” instance. This is useful when exactly one object is needed to coordinate actions across the system.
In short, we only need one variable to score the player score, creating a
singleton node and storing the variable inside it will allow us to access and
manage it much more easily. In order to create a singleton node, firstly start
by creating a script like normal. Save the script at code/PlayerStats.gd. Make
sure the script inherits Node. In order to create a singleton node that will
use this script, select Project -> Project Settings... in the top left menu
bar.
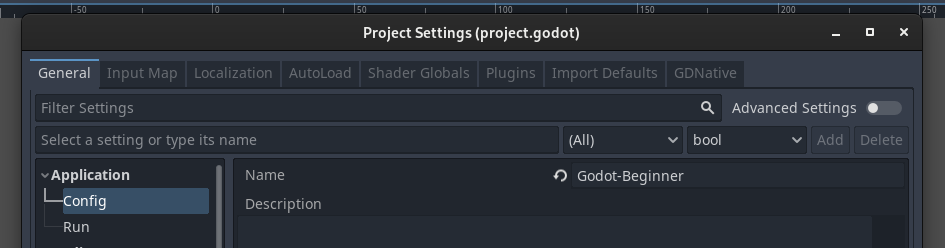
The project settings window will appear, this window contains various options that can be used to customize the way the game works and runs. The top part of the window should have a list of tabs that contain all the options that the project settings window has to offer in a categorized manner.
Select AutoLoad, the window’s contents should now change, the window should
now be blank, this is where all the singleton nodes can be declared.
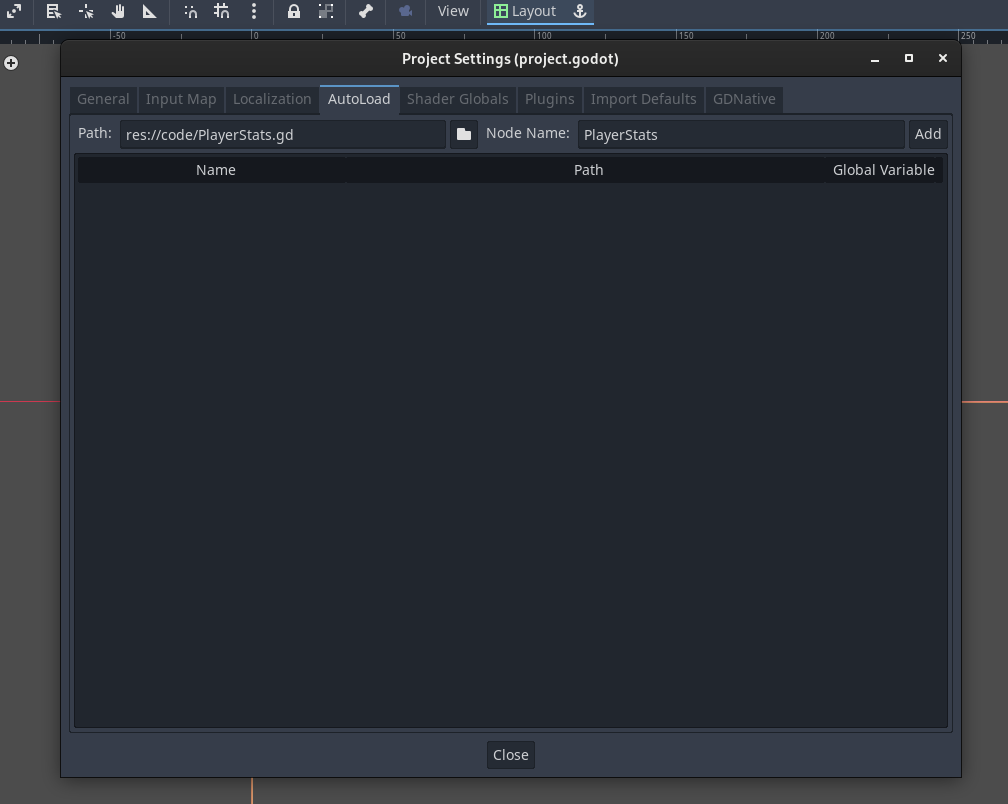
In order to make the PlayerStats.gd script be used by a singleton node, click
on Path and select the PlayerStats.gd script. Then, the Name field should
automatically be populated with the text PlayerStats, the value of this field
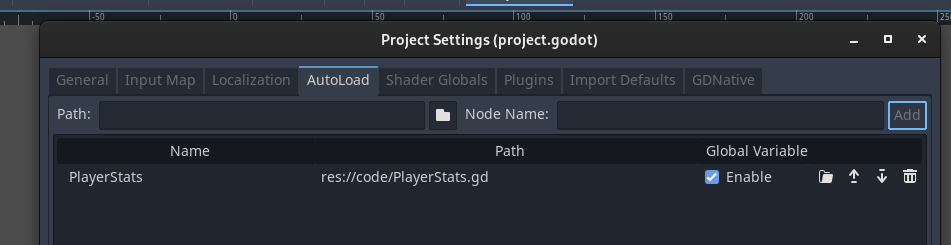
indicates how this singleton will be referred to inside code. Click on Add and
a new singleton will be created that will use the PlayerStats.gd script. Make
sure that the checkbox Enabled is ticked so that the singleton node is
enabled.
It is now time to declare the variable that will keep track of the score, open
code/PlayerStats.gd and write code such that the script looks like this:
|
|
This script will need to simply keep track of the player_score variable. Next,
the asteroid script will be modified to increment the score. Open
code/Asteroid.gd and add the following PlayerStats.player_score += 1 line in
the area_entered function. The script should now look like this:
|
|
The extra line increments the player_score variable in the PlayerStats
singleton that was just added in the previous section. This line executes when
the asteroid is to be destroyed. Now, in order to make the HUD update when the
score changes, open code/HUD.gd and make the script contain the following:
|
|
This simply sets the text property of the Score label node in HUD.tscn to
constantly update to the current score. So when an asteroid comes in contact
with an object, it deletes itself and increments the player score variable, then
the HUD picks the new value and updates the Score node. You may notice that the
Score variable is prefixed with $ as $Score, in Godot, this indicates an
access to a child node, so from the HUD.tscn, $Score will access the child
Score node. It is worth noting that scripts using the $ prefix only work
with nodes that have those children as nodes, if they do not then the code is
trying to access a node that does not exist and the program will crash.
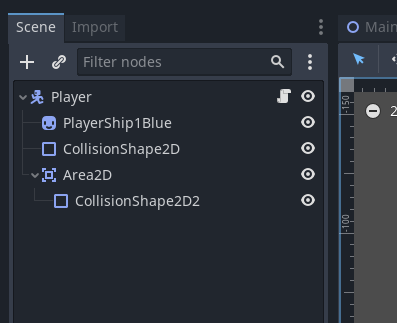
Reseting the Score Counter
In order to reset the score counter as soon as a collision occurs, the player
ship’s scene will need to be modified by adding an Area2D child node, you will
notice that once added, it will display a warning asking for a collision shape
node to be added as a child, the player ship already has a CollisionShape2D
node as a child, right clicking on it and selecting Duplicate will create
another node with the same shape. Drag that second node over the Area2D to
parent it to that node. Afterwards, the player scene outline should look like
so:
A few scripts will need to be tweaked in order to account for the player score being reset.
Notice that every script shown (aside from code/PlayerStats.gd now has a new
line at the very top starting with the keyword class_name, what this does is
it labels any node that is using that script with the script name shown. This
feature of GDScript is used in code/Asteroid.gd and code/Player.gd. This
effectively allows for checking what type of node a certain node is.
code/Asteroid.gd
|
|
The asteroid script’s collision checking function (area_entered) has been
modified. Upon collision, it now first checks if the node that it has
intersected is the player ship. If it is, then it returns from the method (stops
execution). It then checks if the area is not another asteroid and if it is not,
then it increases the score by one. This also fixes a bug where if an asteroid
were to collide with another asteroid, both asteroids would count as a point and
hence, increment the score by 2. The final action is to destroy the asteroid.
code/Player.gd
|
|
The player ship script now adds the extra method area_entered, what this
method does is if an Area2D node intersects with the player ship’s Area2D
node then it first checks if the node is not a ship bullet and then calls the
player_dead method from the PlayerStats. If it is a ship bullet, then it is
ignored because the ship bullets initially intersect with the player ship’s area
2D, so that is a check to stop the player ship from dying by firing a bullet
(which would be pretty funny but would make the game unplayable).
code/PlayerStats.gd
|
|
A new method has been added called player_dead that when invoked will cause
the level to reset, along with the player score variable.
code/ShipBullet.gd
|
|
The player ship bullet script just adds a class name for this script. There are other scripts that have a class name assigned.
Running the Game
The game should now be a fully featured asteroids clone where asteroids come from outside the screen and the player has to shoot them. If the player gets hit with an asteroid, then the scene reloads and the game resets.
Challenges
Here are some challenges to return to when you are more experienced with Godot:
- Add a high-score counter, you will notice that half the work for implementing
this has already been done (by creating the
PlayerStats.gdsingleton script). - Make the player ship move forwards and backwards with the up and down arrow keys.
Project Files
The final project files of this tutorial series can be found on GitHub.
Useful Links
What’s Next
Part 5 took a brief look into the user interface system, a lot of topics that may not have been fully explained, it is recommended that you read the articles in Useful Links in order to better understand them.
You are at the end of this journey, but a bigger one has just begun!